Part 1. Getting up and running on Windows Azure.
Microsoft’s cloud computing platform has a number of interesting features but the ability to create, deploy and scale web sites is particularly interesting to .NET developers. Many ISPs offer .NET hosting but few make it as easy as Azure.
The web server setup and maintenance is all taken care of and managed by Microsoft, which I already get with my current host Arvixe. However, apps can be deployed directly from GitHub and Bitbucket (and more) and it’s possible to scale to 40 CPU cores with 70 GB of memory with a few clicks. If you don’t need that level of performance, you might even be able to run on the free tier.
Here’s how I got up and running (I’ve already gone through the process of setting up an Azure account).
Create a new website from the gallery:

In the gallery, select BlogEngine.NET. Choose a URL (something.azurewebsites.net) and a region (I choose North or West Europe as those are closest to my location).
Wait. 90 seconds later, a default BlogEngine.NET website is up and running.
I’ve created a source control repository in Mercurial. This contains:
- extensions (in App_Code, Scripts and Styles)
- settings, categories, posts, pages (in App_Data)
- the new design for the blog (in Themes) – see part 2
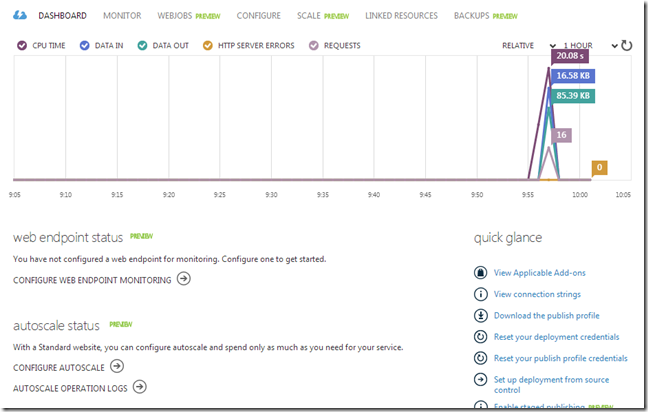
Next, I need to configure my web site to deploy from Bitbucket where I’ve pushed that repo. “Set up deployment from source control” is an option in the dashboard:

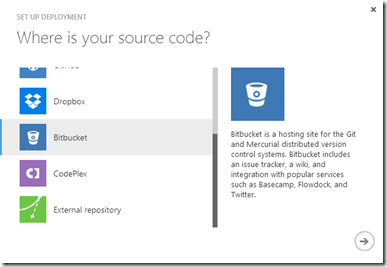
Select Bitbucket and you’ll be asked to log in and allow Azure to connect to your repos:

Azure will then deploy that repo to the website from the latest revision.
All that’s left is to log into blog and make a couple of changes. Firstly, I delete the default blog article created by BlogEngine.NET. I’m displaying tweets on my blog using the “Recent Tweets” widget so I install that.
I’m using a custom domain rather than something.azurewebsites.net. That means I have to scale up from the free tier to shared:

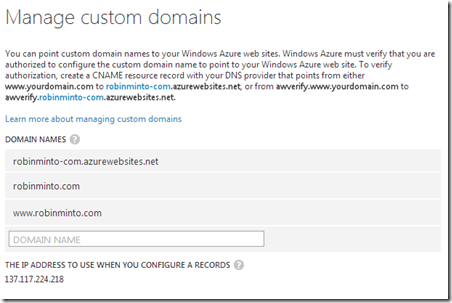
Windows Azure must verify that I am authorized to use my custom domain. I do this by making a DNS change (my DNS records are hosted with DNSimple), adding a CNAME records pointing from awverify.www.robinminto.com to awverify.robinminto-com.azurewebsites.net and from awverify.robinminto.com to awverify.robinminto-com.azurewebsites.net. If I wasn’t using the domain at the time, I could have added the CNAME records without the awverify prefix. Verification step complete, I can then add the domain names to Azure.

Finally, having checked everything is working properly I change the DNS entries (as above without the awverify prefix) to point to my new web site and it’s job done!
I took the opportunity to update the design that I use. I’ll deal with that in part 2.